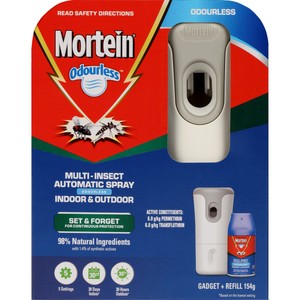
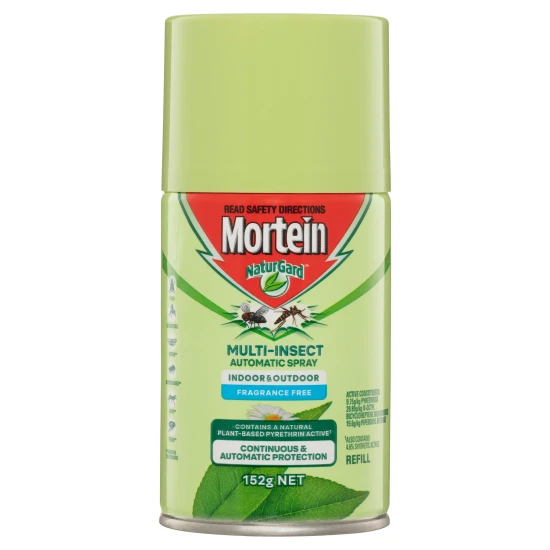
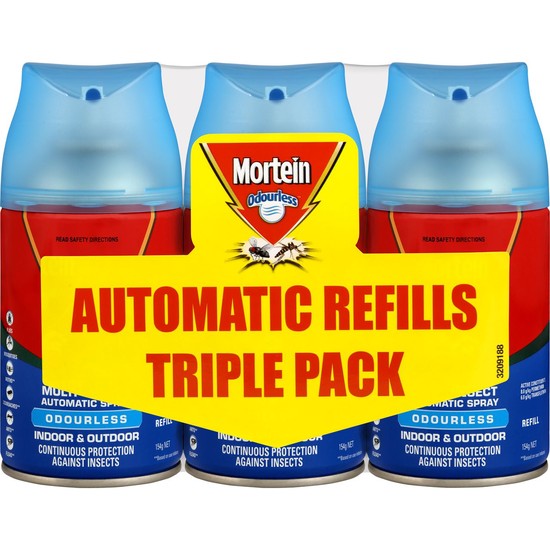
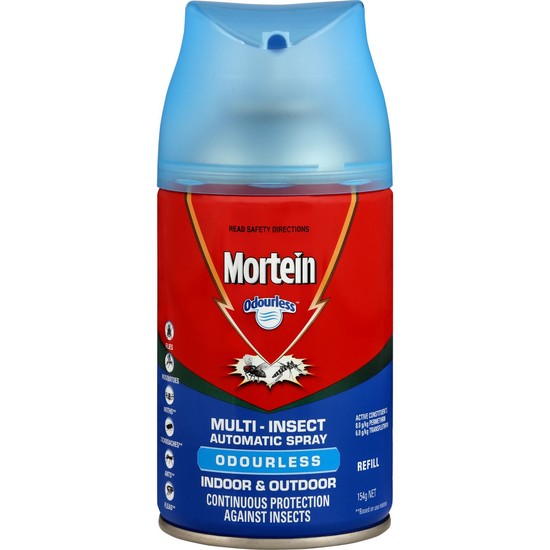
Mortein Odourless Auto Insect Control System
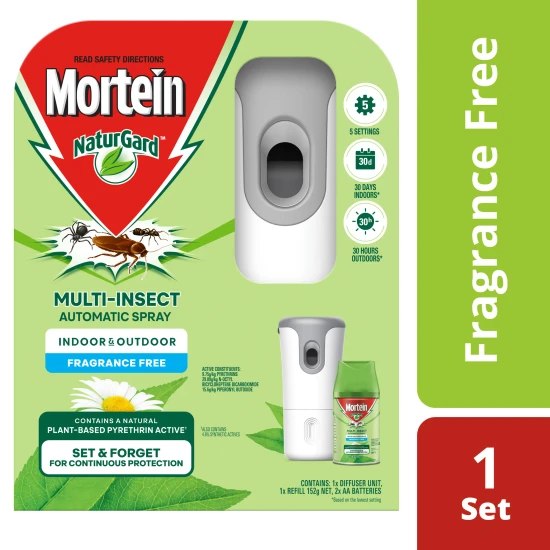
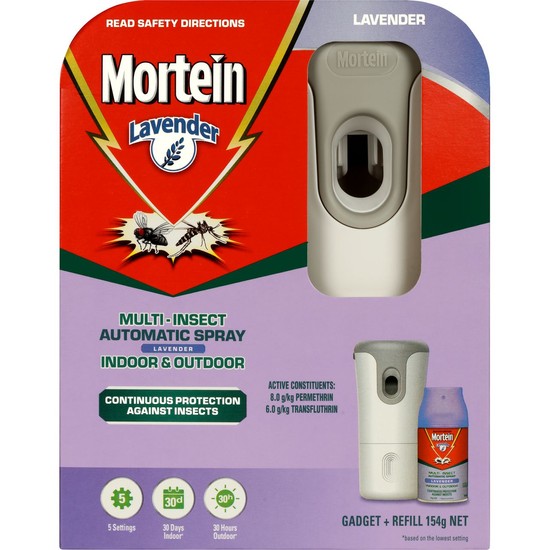
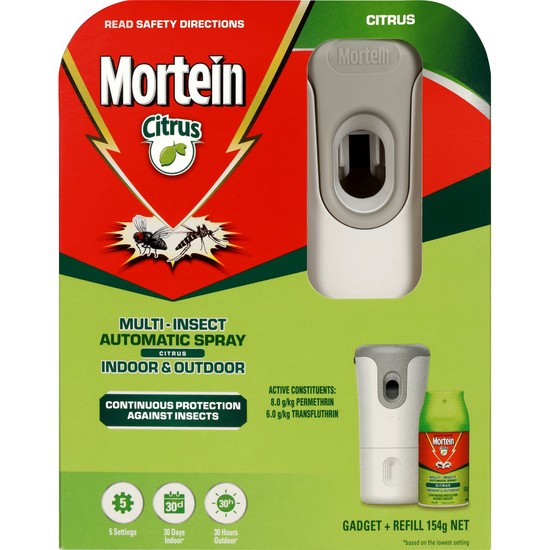
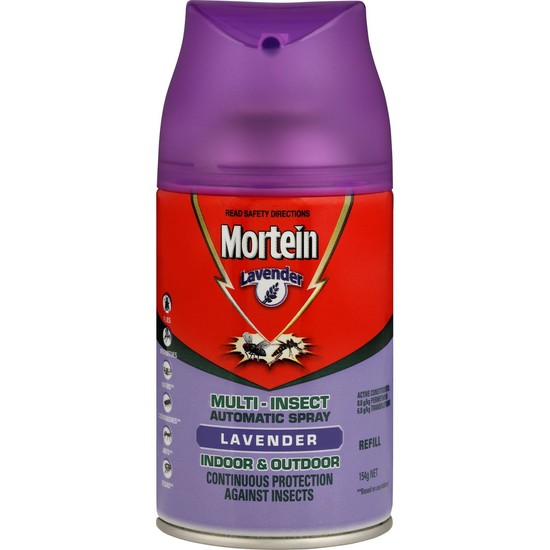
Mortein multi-insect automatic fly spray diffuser kit 154g gives you the control you need to enjoy continuous protection from insects every day.
• Protects a sheltered outdoor area of 25m2
• 5 settings let you choose the setting that meets your needs
• 30 days protection indoors^
• 30 hours protection outdoors^
• Turns off automatically after 3 hours when using outdoor settings
• Control crawling and flying insects including mosquitoes
1 of 1
PRODUCT DESCRIPTION
Continuous protection against insects , 5 settings; 30 days indoor - based on the lowest setting; 30 hours outdoor - based on the lowest setting, Flies; Mosquitoes; Moths; Cockroaches; Ants; Fleas - Controls flies and mosquitoes indoors and outdoors. Controls ants and American cockroaches and helps control German cockroaches, moths and fleas indoors., Propellant: hydrocarbon
SAFETY
KEEP OUT OF REACH OF CHILDREN, EXTREMELY FLAMMABLE. Do not direct onto humans, pets, exposed food, water, food preparation areas or food utensils. Do not allow children & pets to play or eat directly under device. Do not use in outdoor areas that are completely enclosed by walls or screens, e.g. sunrooms. Do not operate near eyes or towards the face. DO NOT STORE OR USE NEAR FIRE OR FLAME. DO NOT THROW PRODUCT INTO WATERWAYS. REMOVE FISH TANKS BEFORE USING. COVER FISH PONDS. Surfaces may become slippery once sprayed. Should surfaces become slippery, clean with warm soapy water and dry thoroughly. Care should be taken not to spray delicate fabrics, furnishings or plastic surfaces such as TVs or other electronic equipment. BEWARE: DELIBERATELY SNIFFING OR INHALING CONCENTRATED SPRAY CAN BE HARMFUL OR FATAL. SAFETY DIRECTIONS: May irritate the eyes. Avoid contact with eyes.
USAGE INFORMATION
STEP 1. To open diffuser device, hold base in one hand and the top in the other hand and twist anticlockwise.
STEP 2. Remove the battery pack provided from the base.
STEP 3. Remove the lid from the top half of the device and insert the 2x AA batteries. Ensure the Positive (+) and Negative (-) terminals are aligned and replace the lid.
STEP 4. Enure the diffuser is switched to the OFF position, (light will flash red once when device is switched to OFF mode is selected). Insert the refill into the base, align the small line marking (top edge of the device base) with the back of the can's spray nozzle. Place the top half of the device on the base ensuring the spray nozzle is facing through opening in the top half. Twist the top half clockwise lining up the triangle marking with the mark on the base.
STEP 5. Select the desired level of protection. The flashing green light indicates the device will spray after a delay of 15 seconds.
STEP 6. When the aerosol refill is almost empty, the red light will flash and the device will soon stop spraying. Turn the device off. Remove the refill and replace with a new refill using the above steps. Remove the lid and adjust device to desired setting and press the reset button.
RELATED PRODUCTS
Show 1 of 14
INFORMATION/TIPS
Show 1 of 5





.jpg?width=550&height=309&format=jpg&quality=80)
.jpg?width=550&height=309&format=jpg&quality=80)
.jpg?width=550&height=309&format=jpg&quality=80)
.jpg?width=550&height=309&format=jpg&quality=80)
